

My Little Pony Drawing Easy
Hello everyone! ^^ Today, I bring you s tutorial on how I personally draw ponies. I was suggested to do this by my friendo Cherry Cheesecake and so here it is! ^^ I hope this helps the people that need it. I'm sorry I tend to ramble, so the explaining may or may not make sense-. However...
THERE IS SOMETHING THAT I CANNOT STRESS ENOUGH.
Please put your own spin on this, this is just how I draw ponies, like the title states, NOT how EVERYONE should draw ponies! I SINCERELY ENCOURAGE you to go off and put your own style into what I show here, or even go back on your own and totally disregard this tutorial! This entire this is only to point you in the right direction, not hold your hand all the way to the destination. Imagine how boring it'd be if this whole Amino had the same style!
with that said, let's begin!
First off, let's go over what you'll need. This section is the most obvious of course, but I'd feel more professional going over it. VuV
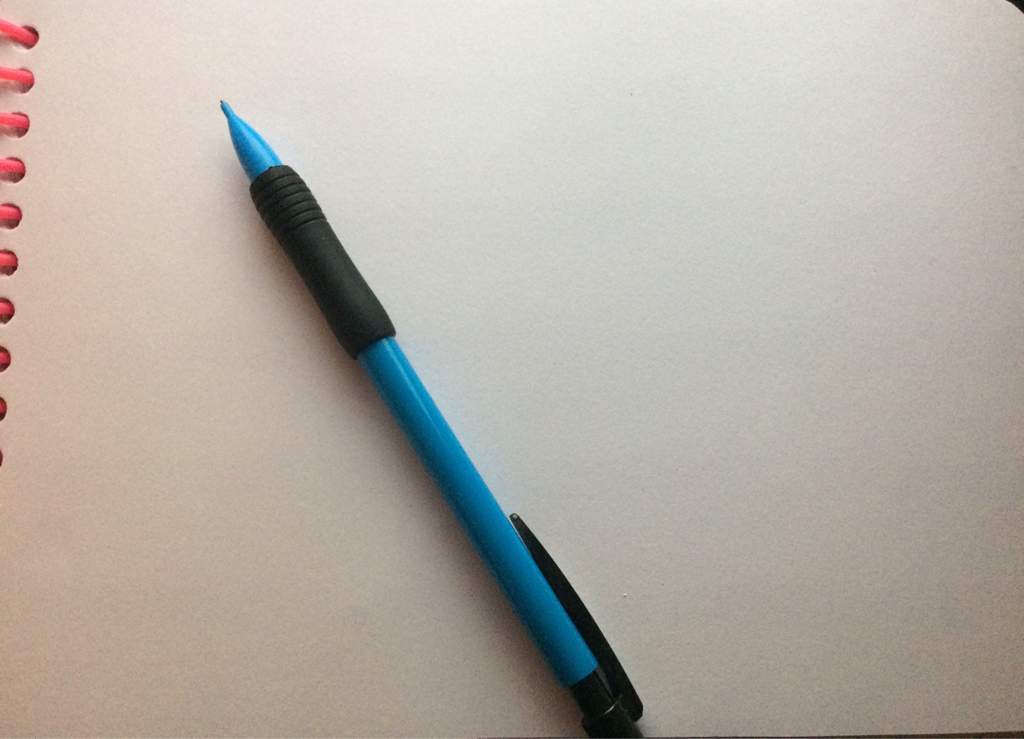
First, you're going to need a piece of paper and a pencil! Blank is preferred, but lined it fine. This tutorial can also work just as well if you're using a digital program rather than sketching on paper.
Next you're going to need somepony to draw!
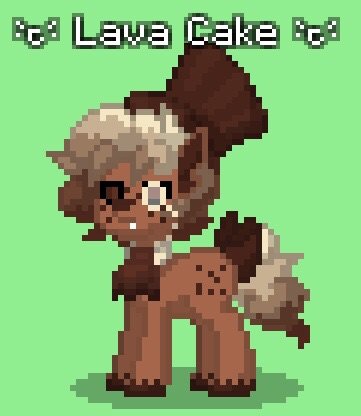
For this tutorial, I chose to do my PonyTown Dessert Pony Squad character Chocolate Lava Cake! ^^
THE HEAD
Step 1
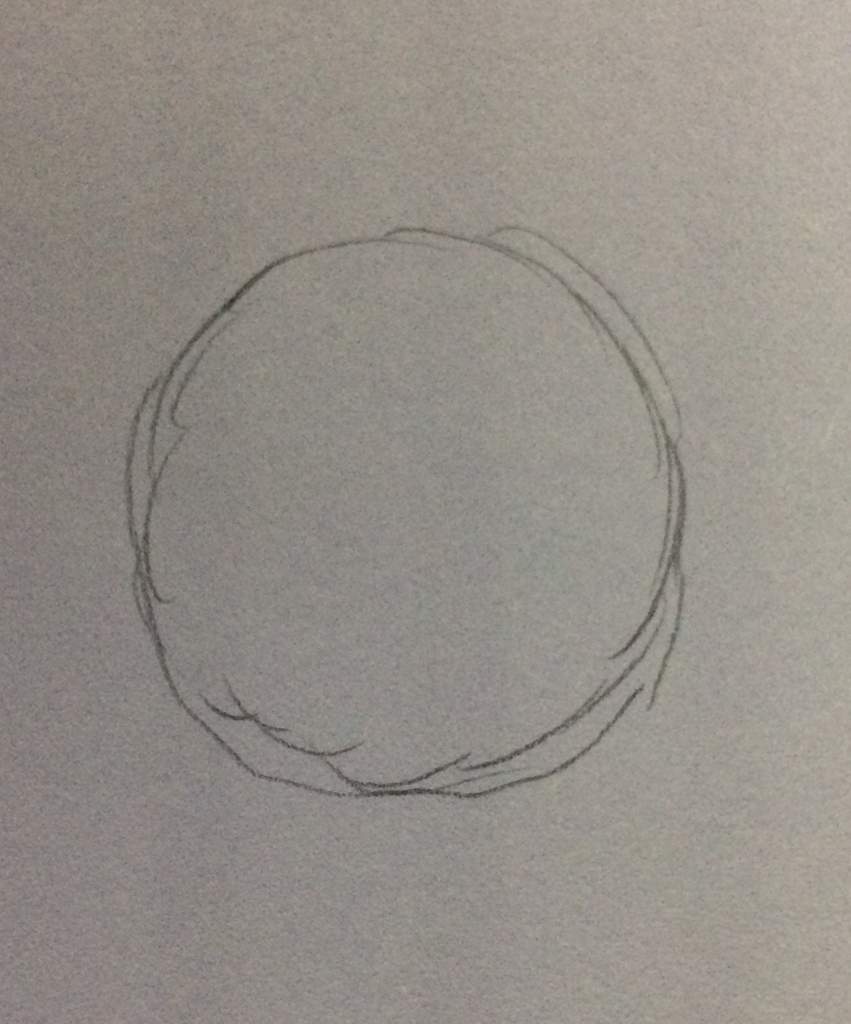
Literally just draw a circle. It's here that I most remind you to try and draw lightly, so it's easier to erase~.
Step 2
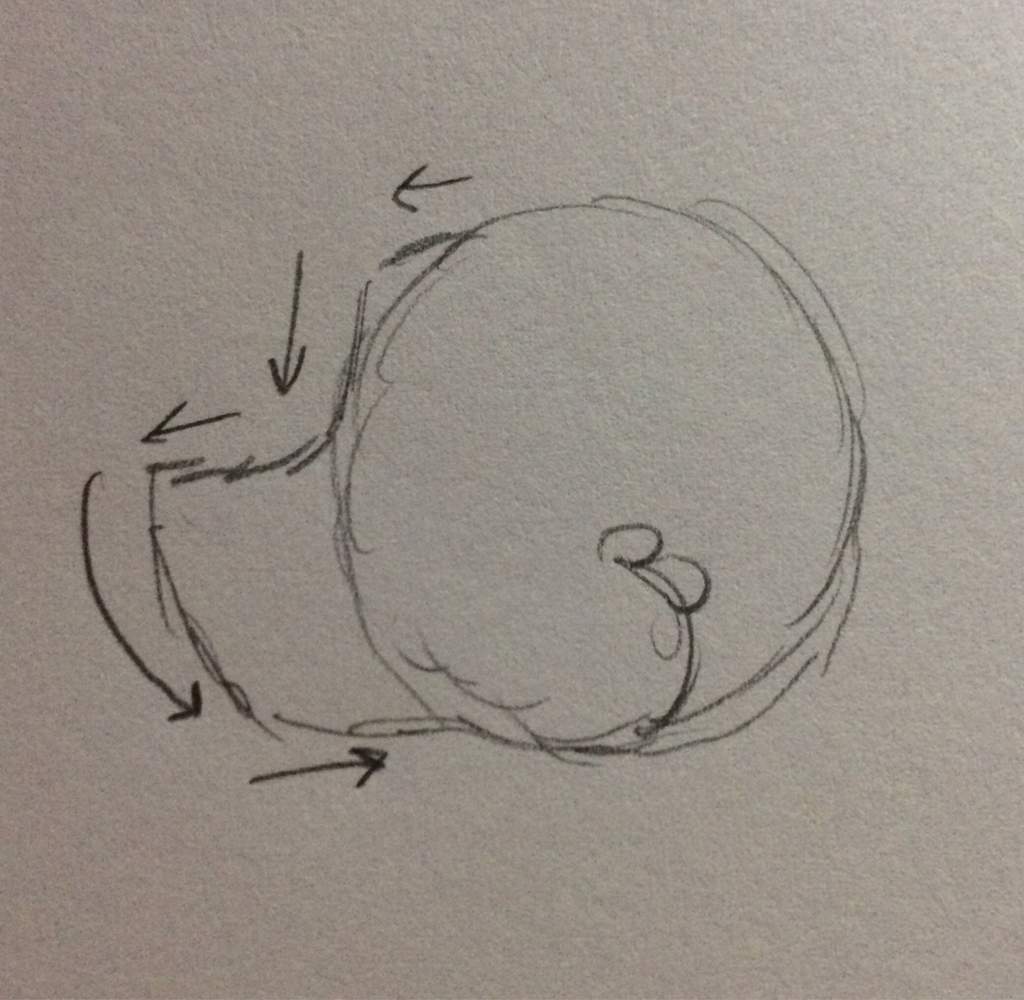
To draw the muzzle, you first go outwards a little bit from the top of the circle. Keep it small! After, go downwards, eventually touching the side of the circle for a bit. then, go out again, more this time. Once you have the tip of the top of the muzzle, go downwards with a slightly curve back into the circle. Keep it to a slight curve! Then just simply go back to the circle when you're happy with the rest f your muzzle. It might take a few tries to get it at the right size.
Step 3
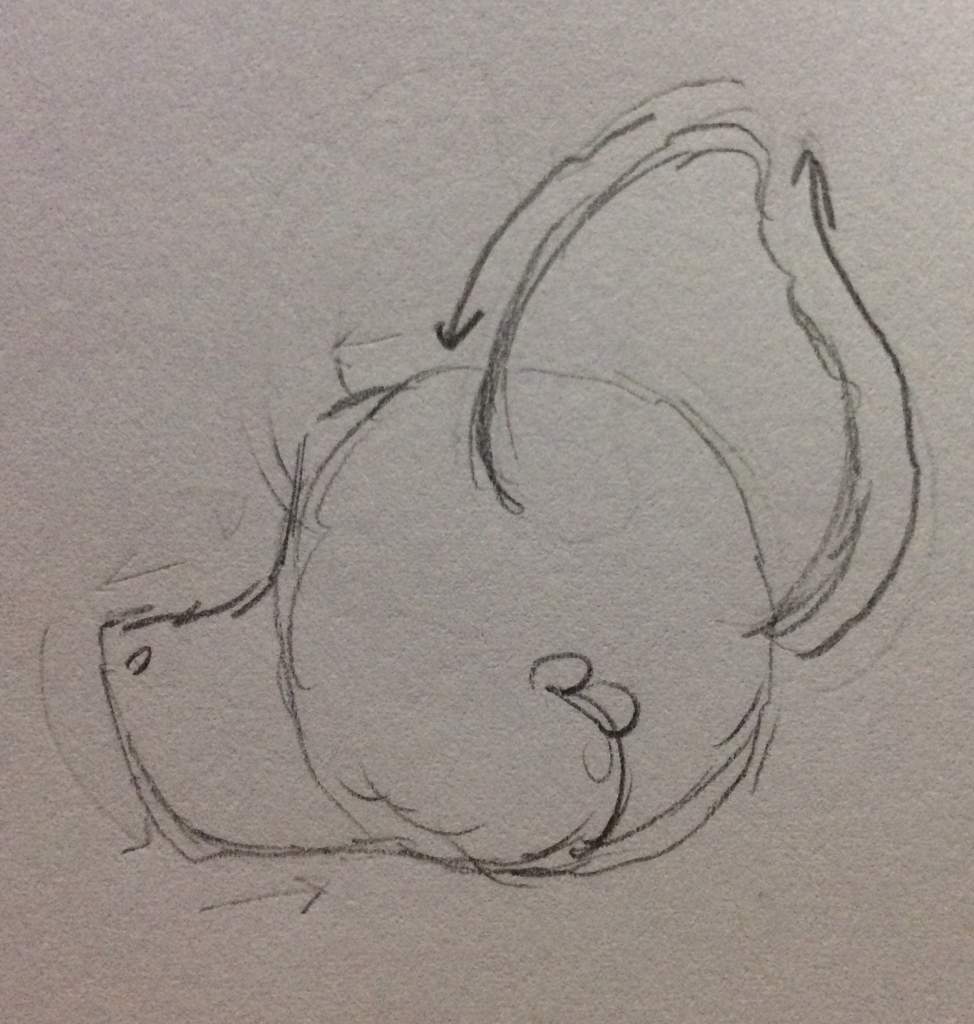
I start from the top of the back of circle(ish), then I curve it in, then out again. I don't quite know why. lmao
For the other part, I just curve it back so that it looks like an ear!
Step 4
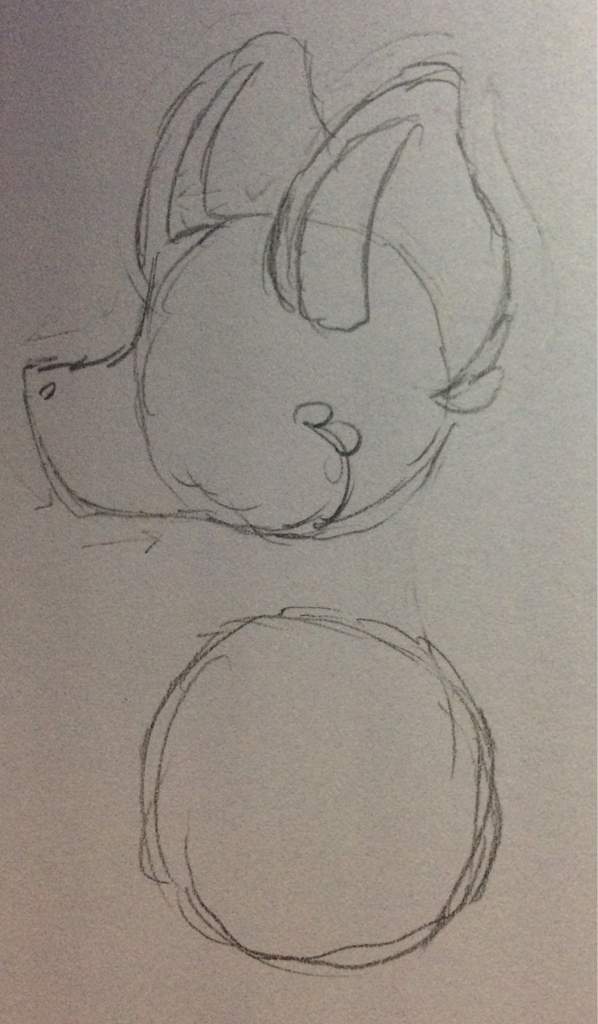
Literally just draw another circle a little ways under the head. It can be the same size as the head if not slightly bigger.
Step 5
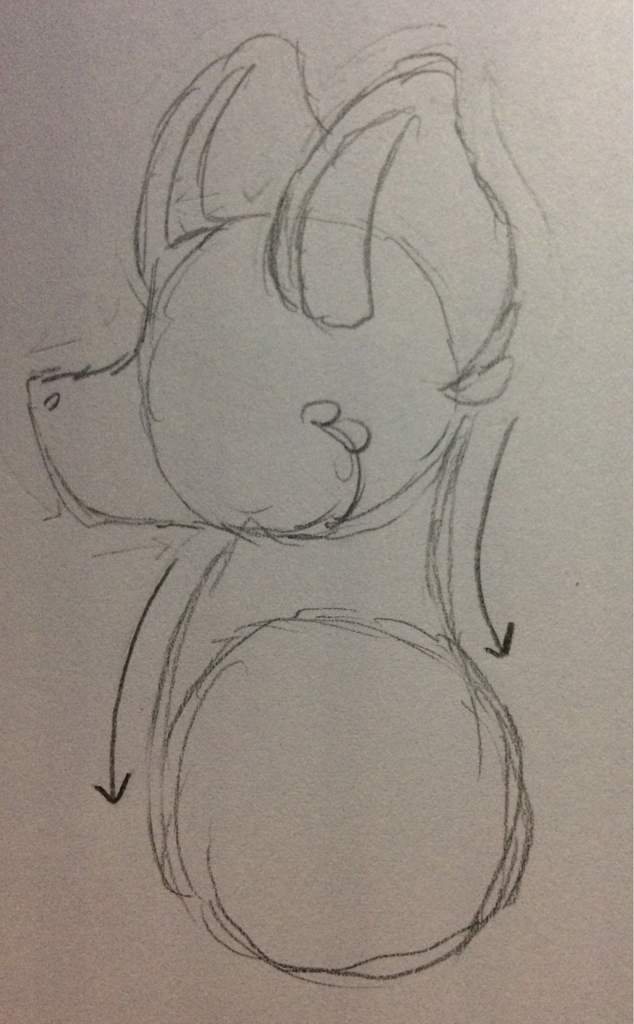
This is the last step of the head! To draw the neck, just draw two curving lines that connect to your plain circle. That's it~.
THE BODY
Step 1
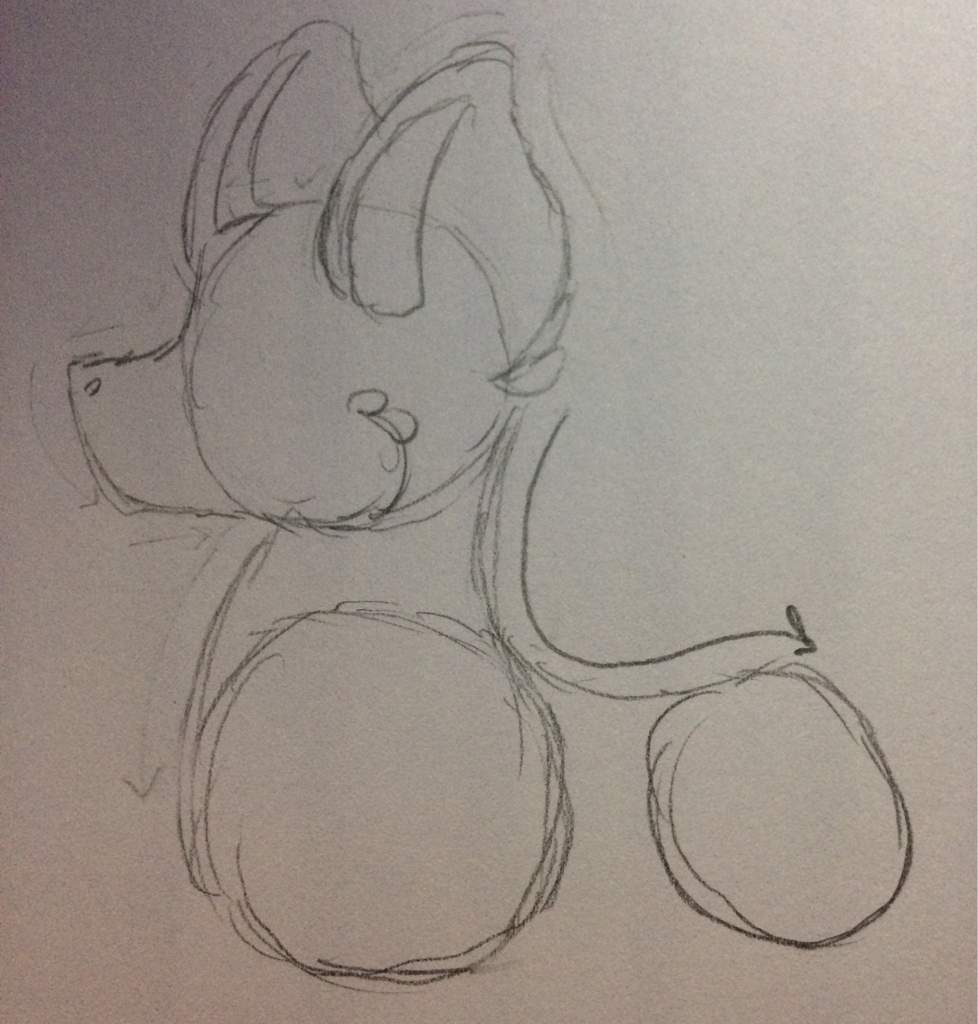
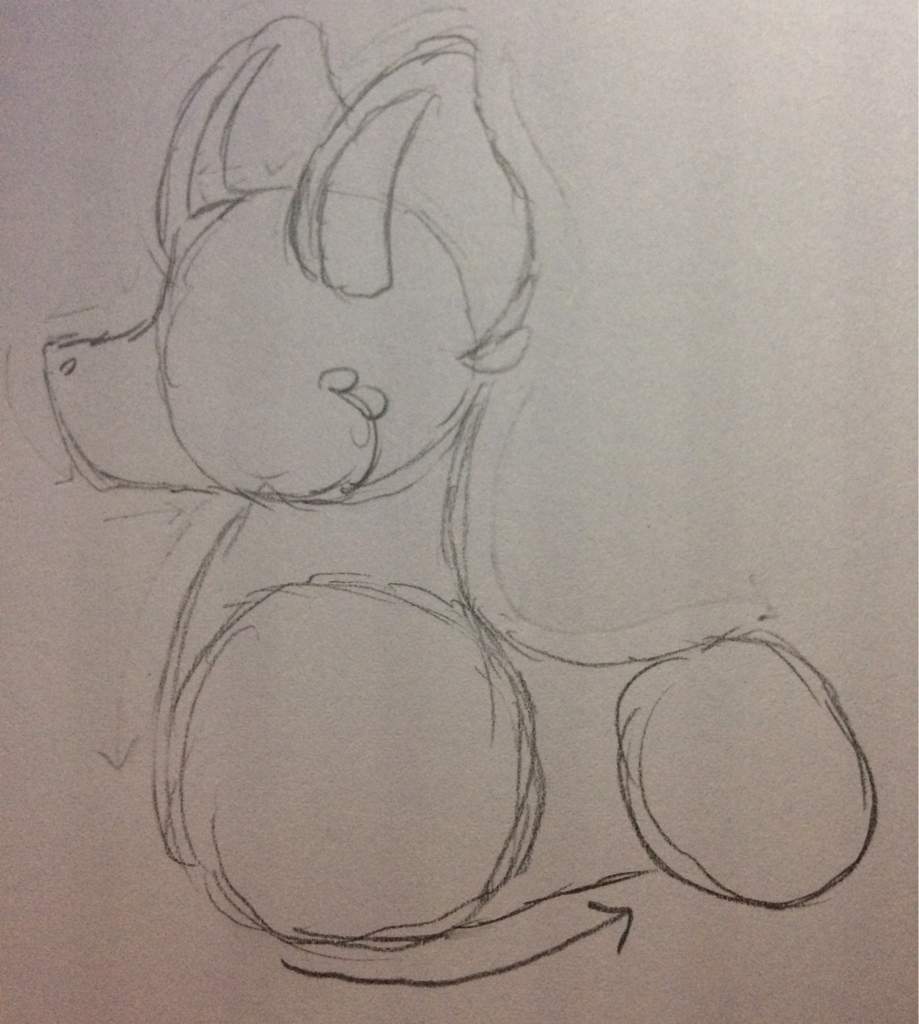
Draw a curved line for arch of the back, and then at the end of it draw a circle. This needs to be relatively smaller than your other circles, as it's where the back leg starts.
Afterwards, draw another line underneath, starting at the bottom of the chest circle, for the stomach, making it slightly slanted up.
Step 2
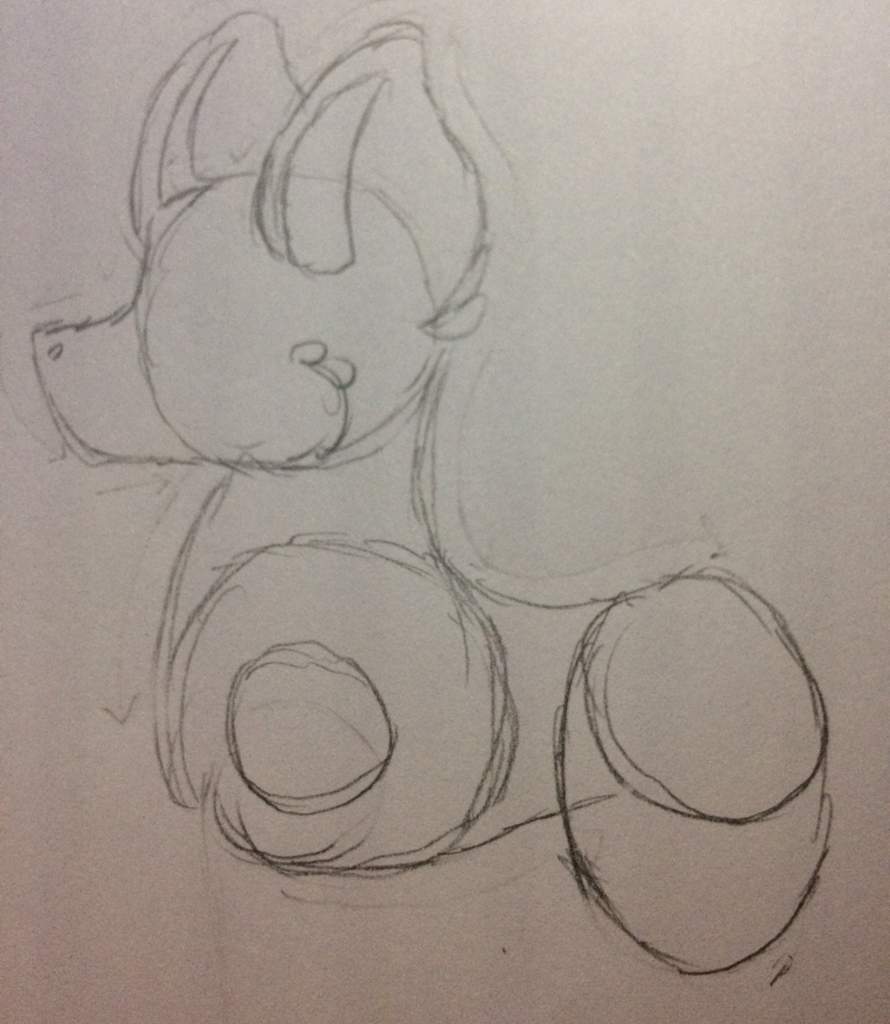
Draw the thigh/hip. It's basically just an oval that I sometimes draw with a rounded point and sometimes don't. No real reason for either one. Just whichever looks nicer at that moment.
Draw another circle NEAR the bottom of the chest. Don't put it at the very bottom, the leg will look off as a result.
Step 3
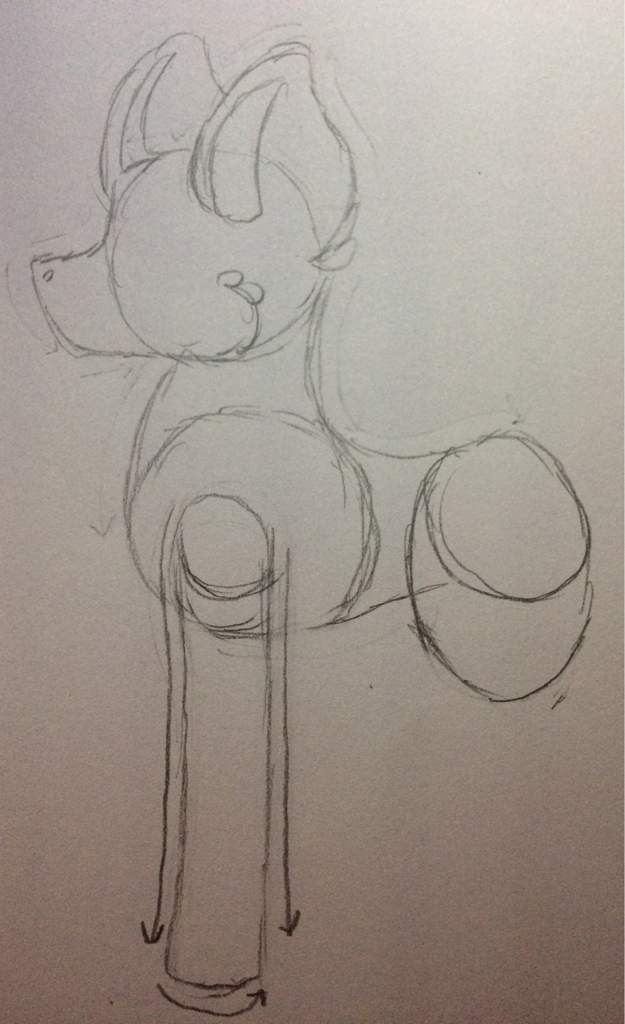
Draw the front leg! It's pretty much just a straight line at the front, with curves at the top and bottom, and at the back literally just a straight line.
Just put another curved line to fill the gap between the two original lines.
Step 4
I would like to point out the shape of a canon ponies back leg for this:

Image belongs to rightful owners VuV
See how it curves in then back out? You need to mimic that:

After you get that down, you can draw the rest of the leg, which is pretty much the same as the front, just with more of a curve, like this:

Step 5

Clean up your sketch! This part is pretty optional on digital stuff, but I'd suggest it for traditional. Basically, just add, fix, and erase what you need to.
Step 6

Finally add some more details like the mane, tail, markings, etc and make the pony your own! ^^ You can even digitalize if you did traditional and want to!
~ FIN ~
Hope it was helpful! BuB
#DessertSquad
AAA THANK YOU AGAIN FOR THE FEATURE!
My Little Pony Drawing Easy
Source: https://aminoapps.com/c/pony-town-official/page/blog/how-i-draw-ponies-a-tutorial/jWGL_DztKugaGa0JVjXenzWKRJaKlRg7nB
Posted by: mooreadezvot.blogspot.com
0 Response to "My Little Pony Drawing Easy"
Post a Comment